
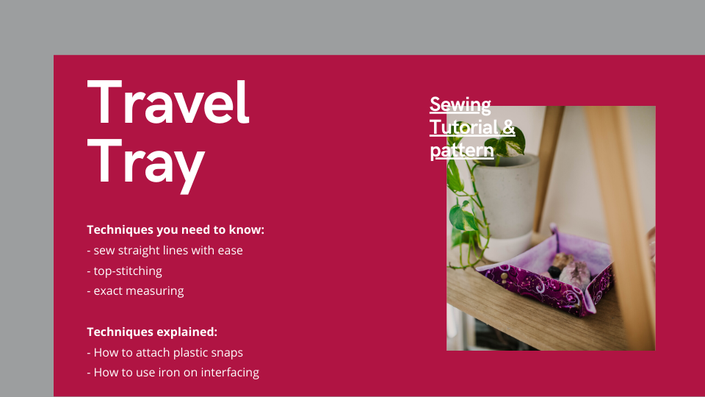
Travel Tray

"By far the most versatile and handy gift I have ever created"
"The world's best unique gift you can ever create to suit any style"

Every now and again you stumble across a pattern you wished you would have known about it earlier. This Travel Tray is one of those projects.
Its simplicity yet versatility is mind blowing. While its construction is simple and quick it can be used for gifts you need on short notice but it also serves as a great everyday helper for men, women and children. And the best thing is if you don’t need it you can easily store it away by unclipping the corners and store it flat in a drawer or cupboard. And because it is so small, light and flat once unclipped you can easily send it to anyone you hold dear around the world without costing you an arm and a leg in postage.
Keep reading and learn more about its features, see some more examples on how to use it and discover how to make it even more special and unique.
A great project to improve your top-stitching sewing skills, straight sewing and learning more about how to attach plastic snaps and how to use fusible interfacing.
Let's have a closer look when this tray becomes a handy everyday helper:
-
When you travel
Have you ever felt like your hotel room feels cluttered cause you don't know where to store the little bits and pieces such as keys, hotel room card etc.? Well this tray won't take much space in your suitcase nor does it weigh much and once you have arrived at your destination you take it out and keep your items organised. -
Find a spot for hubby to place his keys
Is your hubby misplacing his keys all the time too? Or is it you who does it? Give it a try to organise yourself with this handy helper. Place it on a spot you pass everyday and you'd most likely would place your keys. Try to stay consistent for 90 days to always (every day) place your keys in it to form a new habit and you will never ever have to search for those darn keys ever again. And bonus point you can style it so it suits either your hubbies taste or in the way that it suits your in-house decoration theme... nifty hey? -
During hospital stays
I know this is a topic we'd rather don't like to discuss but honestly when in hospital anything with colour will make your day brighter. You can either use it to place your tablets in it, hand stitching such as cross-stitching for example. Sunglasses or anything else that fits in it. -
Place some treats in it
For planned visitors or anyone whose visiting you on short notice. Just get it out and fill it up with some lovely treats. You could also place bread buns in it. Remember it is fabric and you can wash it. The only thing I would maybe rather not place in it is fruit. If the fruit lays in it for too long and it goes off it could be it will damage your fabric so rather don't do that. :) Nuts, anything dry or covered however should be just fine. :) -
Re-usable Easter baskets
I made some awhile back and I love them. Usually the "normal" Easter baskets take up quite a bit of space in your cupboard but not these once. Make sure you unfold them and store flat and you have claimed your cupboard space back but also helped our environment to reduce waste. :) -
Jewellery tray
Do you have Jewellery you use every day and take off at night time? Place them in this wonderful tray and get inspired by your creativity every morning. :) It helps you to keep your items all in one place and have them ready to grab when you need them. :)
Now let's have a closer look how we can make them even more special and unique
This one should be an easy one for everyone to guess obviously by choosing specific fabric that suits your style and your preference.
But I'd like to top this with something you may have not thought about before.
Have you ever seen a fabric before and you seen something in it that others haven't? I'd like to use the example of this fabric that I found from Benartex. It's called "Dance of the Dragonfly Swirling Sky" and the fabric has some swirls in it but also some dots and stars. Let's have a closer look.

When I saw this fabric for the first time I was mesmerized by the pattern. And I'd like to ask you to imagine your life is like a swirl as shown in this fabric surrounded by white dots the ups and downs in life all the obstacles you have to face. The stars watching over you and reminding you of the good things in life and to never give up! No matter how much we get tossed around we always come out stronger than before.....
Next time you look at fabric to choose for your project look at it deeper and see if you can even see a bit more than just the pattern that's visible. :)
Your Instructor

Hi I'm Susanne an Inspirational Sewing Instructor who loves quilting and creating any quick and easy sewing projects.
I always try to see the positive in everything no matter how tiny the "good spark" is. And whenever possible I try to see this in the fabric I choose as well or I stitch good memories or a good feeling into my projects. Sew with purpose and make the most of the time you have.
If I'm not sewing I either spin ideas what I could create or simply enjoy spending time with family and friends.
What's included in this tutorial?
- Detailed video instructions on how to create one of these wonderful Travel Trays. As in all my tutorials you will see them from my point of view for quick and easy understanding.
- You will receive a written pattern to tell you exactly what to do in each step.
- The PDF pattern comes with check boxes to tick off each step once completed. So you always know where you at and a section in which you can write notes specific to your machines settings. In this way you never forget what to change to achieve the best results.
- I will give you some more information on the use of heavy weight interfacing which is required in this project.
- I'll explain in detail how to attach your plastic snaps as we use them to clip the edges together.
- I'll show you how to do your Travel Tray with decorative stitches or without. It's your choice in the end which version you prefer most :)
- And of course you can always ask questions within your course which will be answered by me as soon as possible. As always I try to answer any questions as soon as possible but please be patient and give me at least between 24h - 48h.
For whom is this course for?
- Everyone who has basic sewing skills and is at least a confident beginner who feels confident in sewing straight lines, doing a top-stitch and/or decorative stitches and knows how to prepare/cut their fabrics.
- Everyone who is looking for a fun and easy project to create.
- Everyone who prefers video tutorials over written instructions (although you are getting both with this course) :)
- If you are a beginner who doesn't feel very confident in above mentioned basic sewing skills but you feel confident to tackle a pattern and improve your skill than this project could be something for you as well. After all if you don't try you'll never gonna get better in it. And at least even if the stitches are not 100% straight you can still use it. :) It is a simple pattern with only a few steps. :)
Please note that I'm not explaining basic sewing knowledge in this class. If you happen to experience to struggle with some basic sewing knowledge please go to my Absolute Beginner Machine Sewing Class which covers all basic sewing knowledge you should know. Thanks for your understanding. These short tutorials I'd like to keep interesting for every sewing level as they are always fun to make no matter how experienced you are. :)
However if I should happen to use a skill set not covered in my beginners class I explain in detail and it is outlined in the section what's included in this course. This way you can add on new skills with confidence and in a fun way. :)

As an accredited online teacher for this wonderful Travel Tray pattern by Sulky of America I'm able to give you in a fully self-paced online course a wonderful home art project you can easily create yourself and turn your creativity into unique gifts for yourself and your loved ones.
Frequently Asked Questions
Travel Tray photo gallery and inspiration


